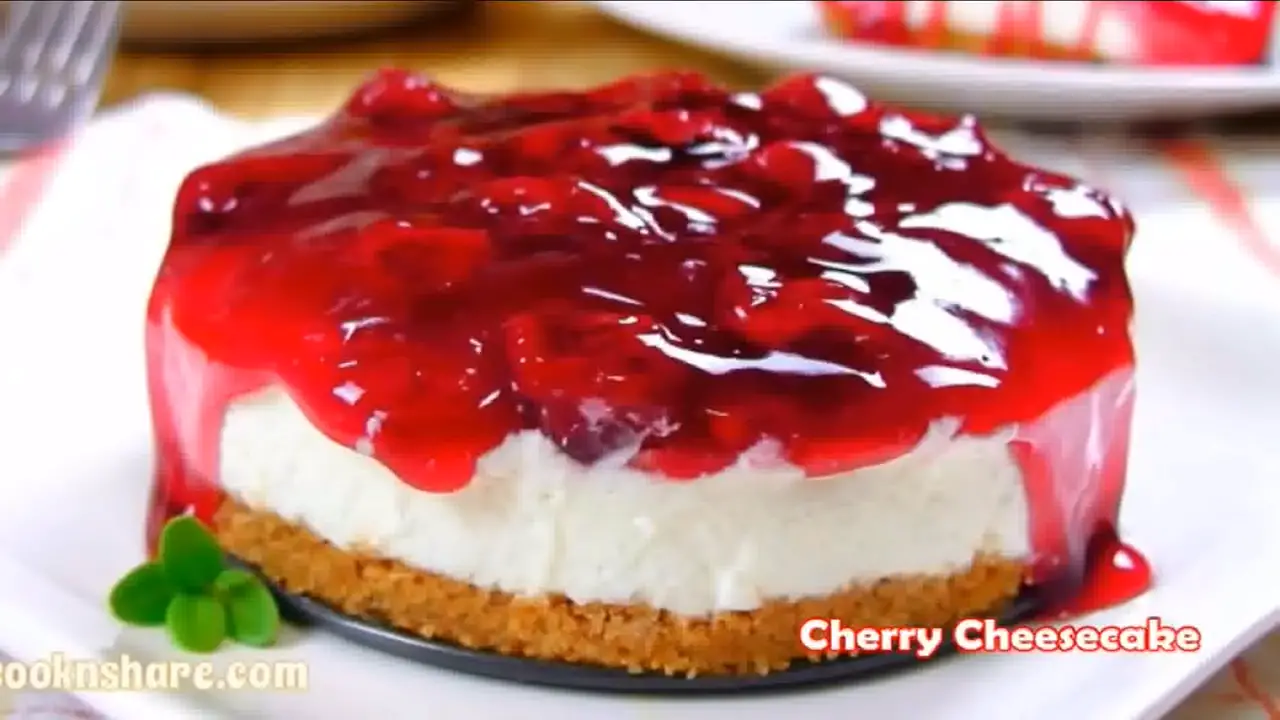
Are you ready to embark on a journey of divine flavors and effortless indulgence? If you’re craving a sweet treat that will leave you mesmerized, look no further than our exquisite No-Bake Cherry Cheesecake! Bursting with delightful cherry goodness and a heavenly creamy texture, this dessert is the epitome of dessert perfection.
Ingredients: For the crust:
- 1 ½ cups of graham cracker crumbs
- ½ cup unsalted butter, melted
- 2 tablespoons granulated sugar
For the cheesecake filling:
- 24 ounces (680g) cream cheese, softened
- 1 cup powdered sugar
- 1 teaspoon pure vanilla extract
- 1 cup heavy cream
- 1 can (21 ounces) cherry pie filling
- Fresh cherries for garnish (optional)
Step-by-step instructions:
- Step 1: The Crust In a medium-sized bowl, combine the graham cracker crumbs, melted butter, and granulated sugar. Mix until the crumbs are moistened and evenly coated with the buttery goodness. Press the mixture firmly into the bottom of a 9-inch springform pan, forming an even layer. This will be the solid foundation of our exquisite cheesecake.
- Step 2: The Luscious Filling In a large mixing bowl, beat the softened cream cheese until it’s smooth and fluffy. Gradually add the powdered sugar and vanilla extract, continuing to beat until the mixture is velvety and thoroughly combined. Don’t rush this step; it’s the key to achieving that irresistibly creamy texture!
- Step 3: Heavenly Creaminess In a separate bowl, whip the heavy cream until stiff peaks form. Gently fold the whipped cream into the cream cheese mixture, creating an ethereal cloud of creaminess that will leave you spellbound.
- Step 4: Assembling the Masterpiece Pour the dreamy cheesecake filling over the graham cracker crust, making sure to spread it evenly to the edges. Now comes the moment you’ve been waiting for – the cherry topping! Generously spoon the cherry pie filling on top of the cheesecake, creating a tantalizing crimson sea of cherries.
- Step 5: Chill and Savor Cover your masterpiece with plastic wrap and place it in the refrigerator for at least 4 hours or, even better, overnight. The chilling time allows all the flavors to harmonize, transforming the dessert into an unforgettable symphony of taste.
- Step 6: The Final Flourish Before serving, garnish the cheesecake with fresh cherries, offering an alluring hint of what awaits inside. Slice the cheesecake with a sharp knife, ensuring clean edges for an Instagram-worthy presentation.
Bon Appétit! Savor each sumptuous bite of this No-Bake Cherry Cheesecake and let the divine combination of flavors transport you to a world of pure bliss. Whether it’s a family gathering, a dinner party, or a personal indulgence, this dessert is guaranteed to leave everyone utterly enchanted. So go ahead, create magic in your kitchen and treat yourself and your loved ones to this heavenly delight!