Homemade Cheesy Garlic Breadsticks are a perfect appetizer, side dish, or snack that’s sure to satisfy your cheesy cravings. These breadsticks are easy to make using prepared pizza crust, making them a quick and simple addition to any meal. In this blog post, we’ll guide you through the step-by-step process of making Cheesy Garlic Breadsticks, provide helpful cooking notes, and offer variations to suit different tastes.
Ingredients
- 1 (10-ounce) can prepared pizza crust
- 1 tablespoon butter, melted
- 1 clove garlic, finely minced
- 1/2 cup mozzarella cheese, grated
- 1 tablespoon parmesan cheese
- 1 tablespoon dried basil
- Salt and pepper to taste
Instructions
Step 1: Prepare the Dough
- Preheat Oven:
- Preheat your oven to 400°F (200°C). Line a baking sheet with parchment paper or a silicone baking mat.
- Roll Out the Dough:
- Unroll the prepared pizza crust onto the lined baking sheet. Use a rolling pin to gently roll it out to your desired thickness, maintaining a rectangular shape.
Step 2: Prepare the Topping
- Melt Butter:
- In a small bowl, combine the melted butter and minced garlic. Mix well.
- Brush the Dough:
- Brush the garlic butter mixture evenly over the rolled-out pizza dough.
- Add Cheese and Seasonings:
- Sprinkle the grated mozzarella cheese evenly over the dough. Follow with the parmesan cheese, dried basil, and a pinch of salt and pepper.
Step 3: Bake the Breadsticks
- Bake:
- Place the baking sheet in the preheated oven and bake for 10-12 minutes, or until the edges are golden brown and the cheese is melted and bubbly.
- Cool:
- Remove the breadsticks from the oven and let them cool for a few minutes.
Step 4: Serve
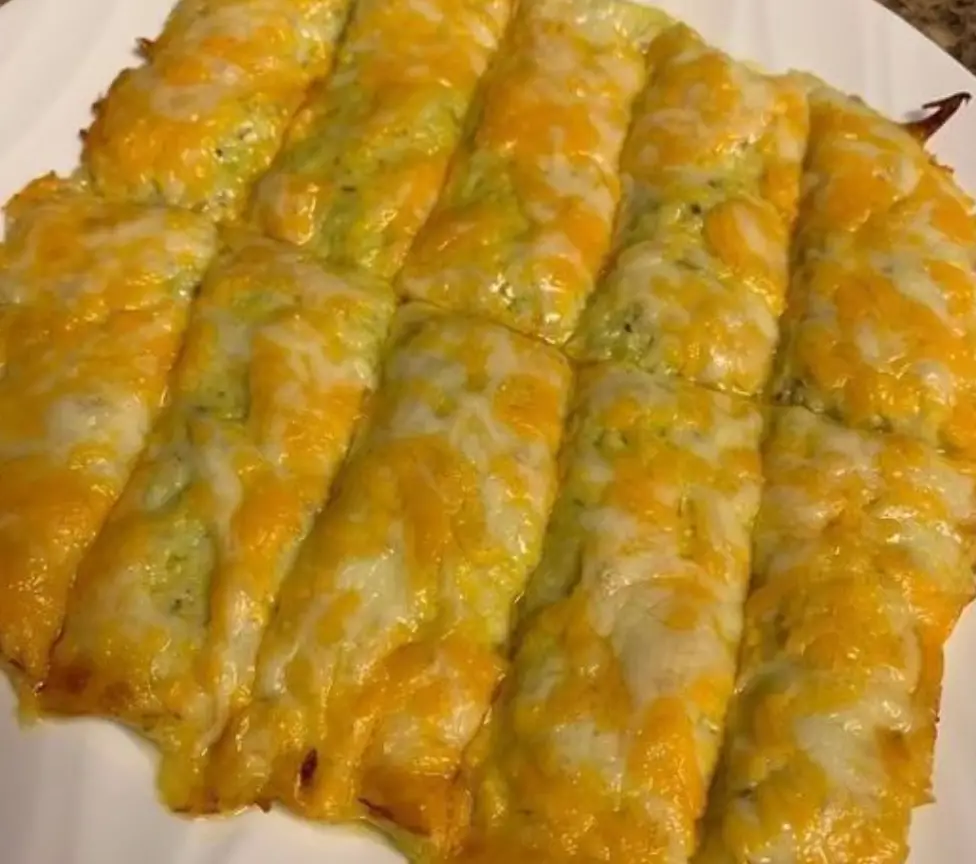
- Cut and Serve:
- Use a pizza cutter or sharp knife to cut the breadsticks into strips. Serve warm with marinara sauce, ranch dressing, or your favorite dipping sauce.
Cook Notes and Variations
Cook Notes:
- Garlic: Freshly minced garlic adds the best flavor, but you can also use garlic powder if preferred.
- Cheese: Feel free to add more cheese or use a blend of different cheeses for extra flavor.
Variations:
- Spicy Breadsticks:
- Add a pinch of red pepper flakes to the garlic butter mixture for a spicy kick.
- Herb Breadsticks:
- Mix in other dried herbs like oregano, thyme, or rosemary for added flavor.
- Cheesy Bacon Breadsticks:
- Sprinkle cooked and crumbled bacon over the cheese before baking for a delicious bacon twist.
Frequently Asked Questions (FAQs)
1. Can I use homemade pizza dough?
Yes, you can use homemade pizza dough instead of prepared pizza crust. Simply roll out the dough to your desired thickness and proceed with the recipe.
2. How do I store leftovers?
Store any leftover breadsticks in an airtight container in the refrigerator for up to 3 days. Reheat in the oven or microwave before serving.
3. Can I freeze these breadsticks?
Yes, you can freeze the baked breadsticks. Allow them to cool completely, then wrap them tightly in plastic wrap and place in a freezer-safe bag. Freeze for up to 3 months. Thaw in the refrigerator and reheat in the oven before serving.
4. What can I serve with Cheesy Garlic Breadsticks?
These breadsticks pair well with marinara sauce, ranch dressing, or any of your favorite dipping sauces. They also make a great side dish for pasta, soup, or salad.
5. Can I add other toppings?
Yes, you can customize your breadsticks with additional toppings like pepperoni, olives, or jalapeños. Simply sprinkle them over the cheese before baking.
Homemade Cheesy Garlic Breadsticks are a delicious and easy-to-make treat that’s perfect for any occasion. With their cheesy, garlicky flavor and soft, warm texture, these breadsticks are sure to be a hit with everyone. Whether you’re making them as an appetizer, a side dish, or a snack, this recipe is simple to follow and full of delightful flavors. Give these Cheesy Garlic Breadsticks a try and enjoy a tasty and comforting treat. Happy baking!