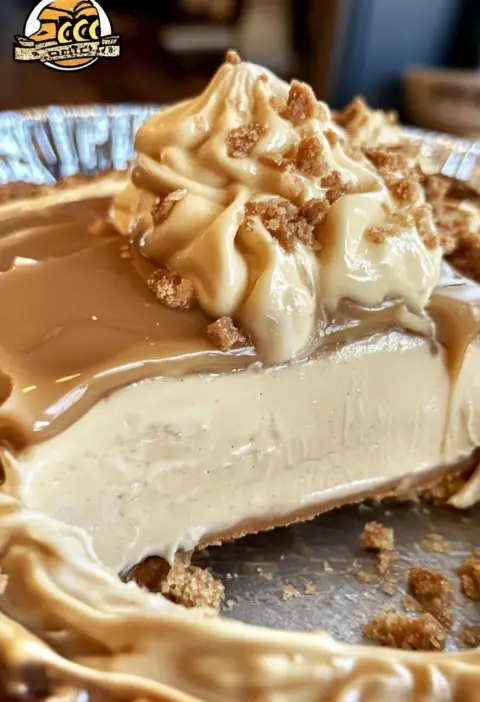
Peach Cobbler Cheesecake Cones are an innovative and mouth-watering dessert that combines the flavors of peach cobbler and creamy cheesecake in a fun, portable cone. Perfect for parties, gatherings, or a delightful family treat, these cones are sure to impress with their unique presentation and irresistible taste. In this comprehensive guide, we’ll cover the recipe in detail, including variations for different dietary preferences, and address common questions to ensure your success.
Peach cobbler and cheesecake are two classic desserts that everyone loves. Combining them into a convenient and delectable cone is a brilliant way to enjoy the best of both worlds. This recipe is easy to follow and perfect for those looking to create a memorable dessert. Let’s dive into the ingredients and steps needed to make these Peach Cobbler Cheesecake Cones.
Ingredients
For the Cones:
- 16 ounces of cream-filled cookies (vanilla, chocolate, or wafer cookies)
- 12 waffle cones
- 3 tbsp whipped cream
For the Peach Cobbler:
- 48 ounces of sliced peaches with juice
- 1 box of cake mix (yellow, white, French vanilla, or butter pecan)
- 1 cup salted butter
- 1 ½ tsp cinnamon
For the Cheesecake Filling:
- 1 cup heavy whipped cream
- 1 cup confectioner’s sugar
- 1 tsp vanilla extract
- 16 ounces cream cheese, softened
- ½ tsp lemon juice
Instructions
Step 1: Prepare the Peach Cobbler
- Preheat Oven: Preheat your oven to 350°F (175°C).
- Assemble Ingredients: In a large baking dish, combine the sliced peaches with their juice.
- Add Cake Mix: Evenly sprinkle the cake mix over the peaches.
- Butter and Cinnamon: Cut the butter into small pieces and scatter them over the cake mix. Sprinkle the cinnamon on top.
- Bake: Place the baking dish in the preheated oven and bake for 45-50 minutes, or until the top is golden brown and the peaches are bubbly.
Step 2: Prepare the Cheesecake Filling
- Whip the Cream: In a large mixing bowl, beat the heavy whipped cream until stiff peaks form. Set aside.
- Combine Ingredients: In another bowl, beat the softened cream cheese until smooth. Add the confectioner’s sugar, vanilla extract, and lemon juice, and mix until well combined.
- Fold Together: Gently fold the whipped cream into the cream cheese mixture until fully incorporated.
Step 3: Prepare the Cones
- Crush the Cookies: Crush the cream-filled cookies into fine crumbs. You can use a food processor for this step or place the cookies in a sealed bag and crush them with a rolling pin.
- Fill the Cones: Take the waffle cones and dip the rims into whipped cream, then into the crushed cookie crumbs to coat.
Step 4: Assemble the Cheesecake Cones
- Layer the Cones: Fill the bottom of each cone with a spoonful of cheesecake filling. Add a layer of peach cobbler, followed by more cheesecake filling, and top with additional peach cobbler.
- Garnish: Optionally, garnish the top with a dollop of whipped cream and a sprinkle of crushed cookies or cinnamon.
- Serve: Serve immediately for the best texture and flavor.
Cooking Notes and Variations
Cooking Notes
- Peaches: Fresh or frozen peaches can be used if you prefer. Simply adjust the sweetness by adding sugar if necessary.
- Butter: For a richer flavor, you can use unsalted butter and add a pinch of salt to the peach cobbler mixture.
- Cheesecake Filling: Ensure the cream cheese is fully softened before mixing to avoid lumps in the filling.
Keto Version
For a keto-friendly version, substitute the cake mix with a low-carb alternative and use almond flour-based waffle cones. Replace the confectioner’s sugar with a keto-approved sweetener like erythritol.
Ingredients for Keto Version:
- For the Cones: Use almond flour cones or low-carb cones.
- For the Cobbler: Use a low-carb cake mix alternative.
- For the Filling: Replace confectioner’s sugar with erythritol or another keto-friendly sweetener.
Low-Carb Version
For a lower-carb version, you can follow the keto modifications but use regular waffle cones if desired.
Frequently Asked Questions (FAQs)
Q1: Can I make this recipe ahead of time?
A: Yes, you can prepare the peach cobbler and cheesecake filling ahead of time. Store them separately in the refrigerator for up to 2 days. Assemble the cones just before serving to maintain their texture.
Q2: How do I store leftovers?
A: Leftover assembled cones should be stored in an airtight container in the refrigerator for up to 2 days. Note that the cones may become soft over time.
Q3: Can I freeze the cheesecake filling?
A: Yes, the cheesecake filling can be frozen for up to 1 month. Thaw in the refrigerator before using.
Q4: Can I use different fruit for the cobbler?
A: Absolutely! This recipe is versatile, and you can substitute peaches with other fruits like apples, berries, or pears.
Q5: What can I serve with Peach Cobbler Cheesecake Cones?
A: These cones are delicious on their own but can be served with a side of vanilla ice cream, fresh fruit, or a drizzle of caramel sauce for extra indulgence.
Peach Cobbler Cheesecake Cones are a delightful fusion of two beloved desserts, creating a unique and delicious treat. Whether you stick to the classic recipe or try the keto or low-carb versions, these cones are sure to be a hit. Perfect for any occasion, they offer a fun and portable way to enjoy the flavors of peach cobbler and cheesecake. Follow the steps and tips provided to create your own batch of these irresistible cones and watch them disappear in no time. Happy baking!
