Ooey Gooey Bars are a delicious, decadent dessert that combines a buttery crust with a rich, creamy filling. Perfect for any occasion, these bars are easy to make and sure to be a hit with everyone. With their simple ingredients and incredible flavor, they’re an ideal choice for potlucks, parties, or a sweet treat at home. Let’s dive into this mouthwatering recipe and explore how to make these delightful bars step-by-step.
Ingredients
For the Crust:
- 1 box yellow cake mix, dry (not prepared)
- 8 tablespoons butter (melted)
- 1 egg
For the Gooey Layer:
- 8 oz. cream cheese (softened)
- 2 eggs (beaten)
- 16 oz. powdered sugar
Instructions
Step 1: Prepare the Crust
- Preheat the Oven:
- Preheat your oven to 350°F (175°C). Grease a 9×13 inch baking dish or line it with parchment paper.
- Mix the Crust Ingredients:
- In a large bowl, combine the dry yellow cake mix, melted butter, and 1 egg. Mix until well combined. The mixture will be thick and dough-like.
- Press into Pan:
- Press the mixture evenly into the bottom of the prepared baking dish to form the crust.
Step 2: Prepare the Gooey Layer
- Beat the Cream Cheese:
- In a medium bowl, beat the softened cream cheese until smooth and creamy.
- Add the Eggs and Sugar:
- Add the beaten eggs and powdered sugar to the cream cheese. Mix until well combined and smooth.
- Pour Over Crust:
- Pour the cream cheese mixture over the crust in the baking dish. Spread it out evenly with a spatula.
Step 3: Bake and Cool
- Bake:
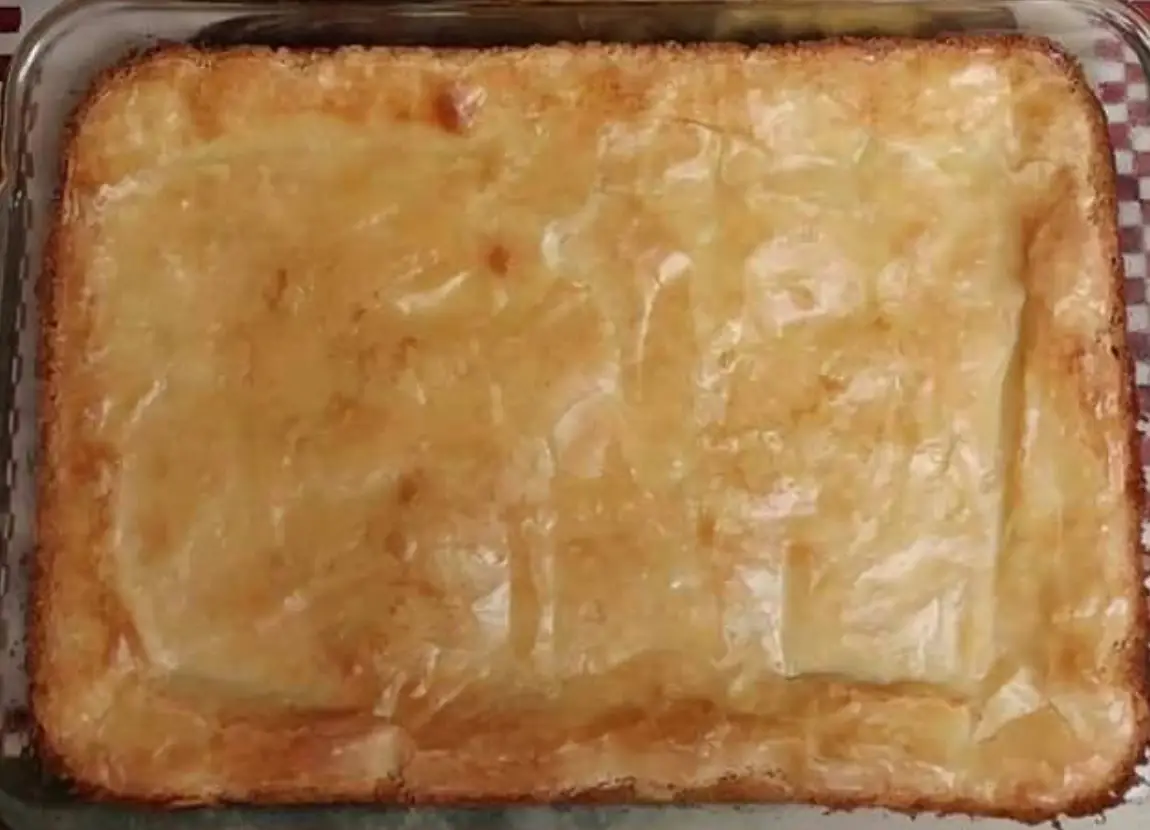
- Bake in the preheated oven for 40-45 minutes, or until the top is golden brown and set. The center should still be slightly gooey.
- Cool:
- Remove from the oven and allow the bars to cool completely in the baking dish. Once cooled, cut into squares.
Step 4: Serve
- Serve:
- Serve the ooey gooey bars at room temperature. Enjoy these deliciously rich and creamy treats!
Cooking Notes and Tips
- Cream Cheese: Make sure the cream cheese is softened to ensure a smooth mixture. You can soften it quickly by microwaving it for 15-20 seconds.
- Mixing: Be careful not to overmix the crust or the gooey layer. Mix until just combined for the best texture.
- Baking Time: Keep an eye on the bars while baking. They should be golden brown on top but still have a slight jiggle in the center to ensure they stay gooey.
Variations
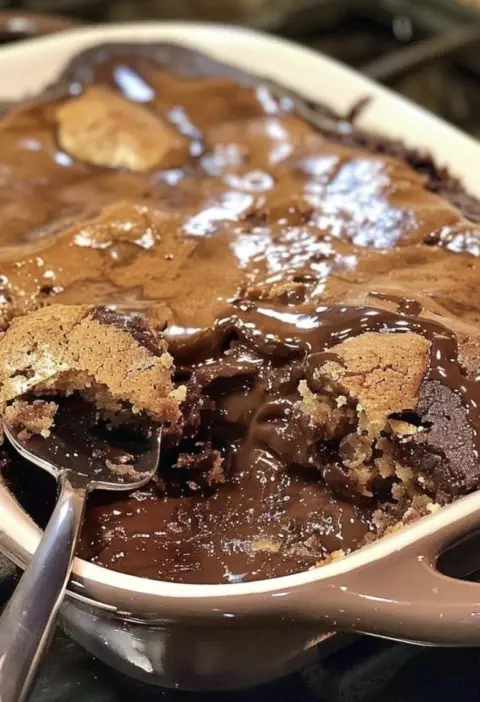
Chocolate Ooey Gooey Bars
- Substitute the yellow cake mix with a chocolate cake mix for a rich chocolate version.
- Add 1/2 cup of chocolate chips to the gooey layer for extra chocolatey goodness.
Nutty Gooey Bars
- Add 1 cup of chopped nuts, such as pecans or walnuts, to the crust mixture for added crunch and flavor.
FAQs
Q: Can I use a different flavor of cake mix? A: Yes, you can experiment with different flavors of cake mix, such as chocolate, lemon, or spice, to create different variations of ooey gooey bars.
Q: How do I store these bars? A: Store the ooey gooey bars in an airtight container at room temperature for up to 3 days. They can also be refrigerated for up to a week.
Q: Can I freeze ooey gooey bars? A: Yes, you can freeze the bars. Wrap them tightly in plastic wrap and foil, then place in a freezer-safe bag. Freeze for up to 3 months. Thaw in the refrigerator before serving.
Q: Can I add other ingredients to the gooey layer? A: Absolutely! You can add ingredients like chocolate chips, shredded coconut, or fruit preserves to the gooey layer for added flavor and texture.
Q: What can I serve with ooey gooey bars? A: These bars are delicious on their own but can be served with a scoop of ice cream, a dollop of whipped cream, or a drizzle of caramel sauce for an extra treat.
Ooey Gooey Bars are a rich, indulgent dessert that’s sure to satisfy your sweet tooth. With their buttery crust and creamy filling, they’re perfect for any occasion. Whether you stick to the classic recipe or try one of the variations, these bars are easy to make and always a crowd-pleaser. Enjoy making and sharing these delightful treats with your family and friends!